                                       ███
                              ███     ░░░                                        ███
 █████████████   █████ ████ ███████   ████  █████ █████    ████████    ██████  ███████
░░███░░███░░███ ░░███ ░███ ░░░███░   ░░███ ░░███ ░░███    ░░███░░███  ███░░███░░░███░
 ░███ ░███ ░███  ░███ ░███   ░███     ░███  ░░░█████░      ░███ ░███ ░███████   ░███
 ░███ ░███ ░███  ░███ ░███   ░███ ███ ░███   ███░░░███     ░███ ░███ ░███░░░    ░███ ███
 █████░███ █████ ░░████████  ░░█████  █████ █████ █████ ██ ████ █████░░██████   ░░█████
░░░░░ ░░░ ░░░░░   ░░░░░░░░    ░░░░░  ░░░░░ ░░░░░ ░░░░░ ░░ ░░░░ ░░░░░  ░░░░░░     ░░░░░
All about that time I repaired a Playstation 2
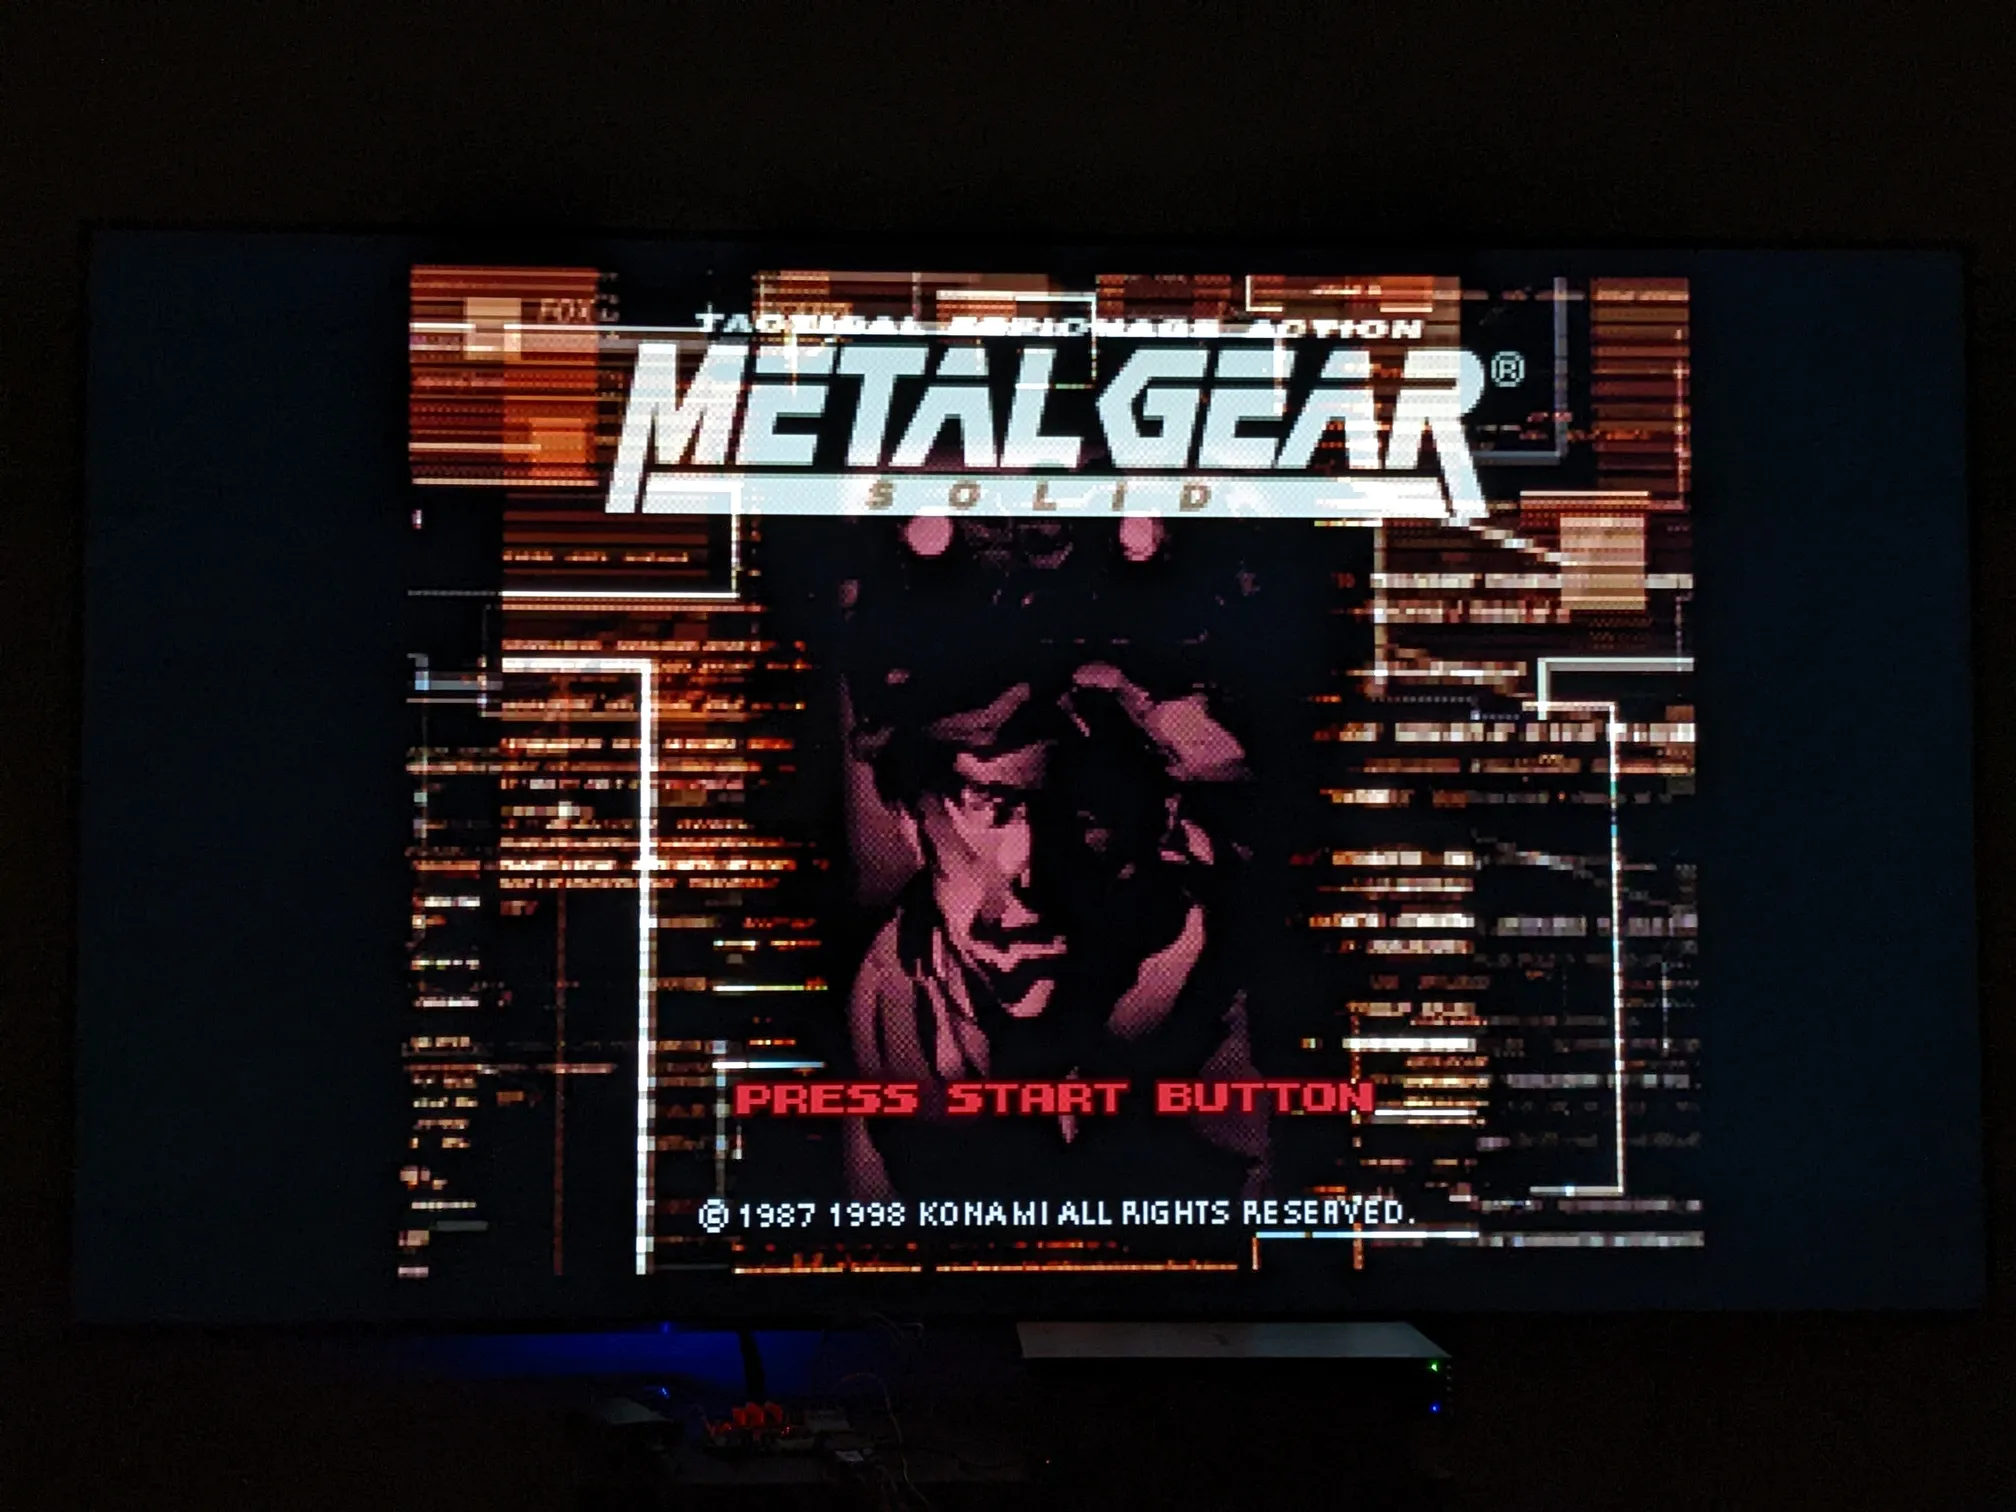
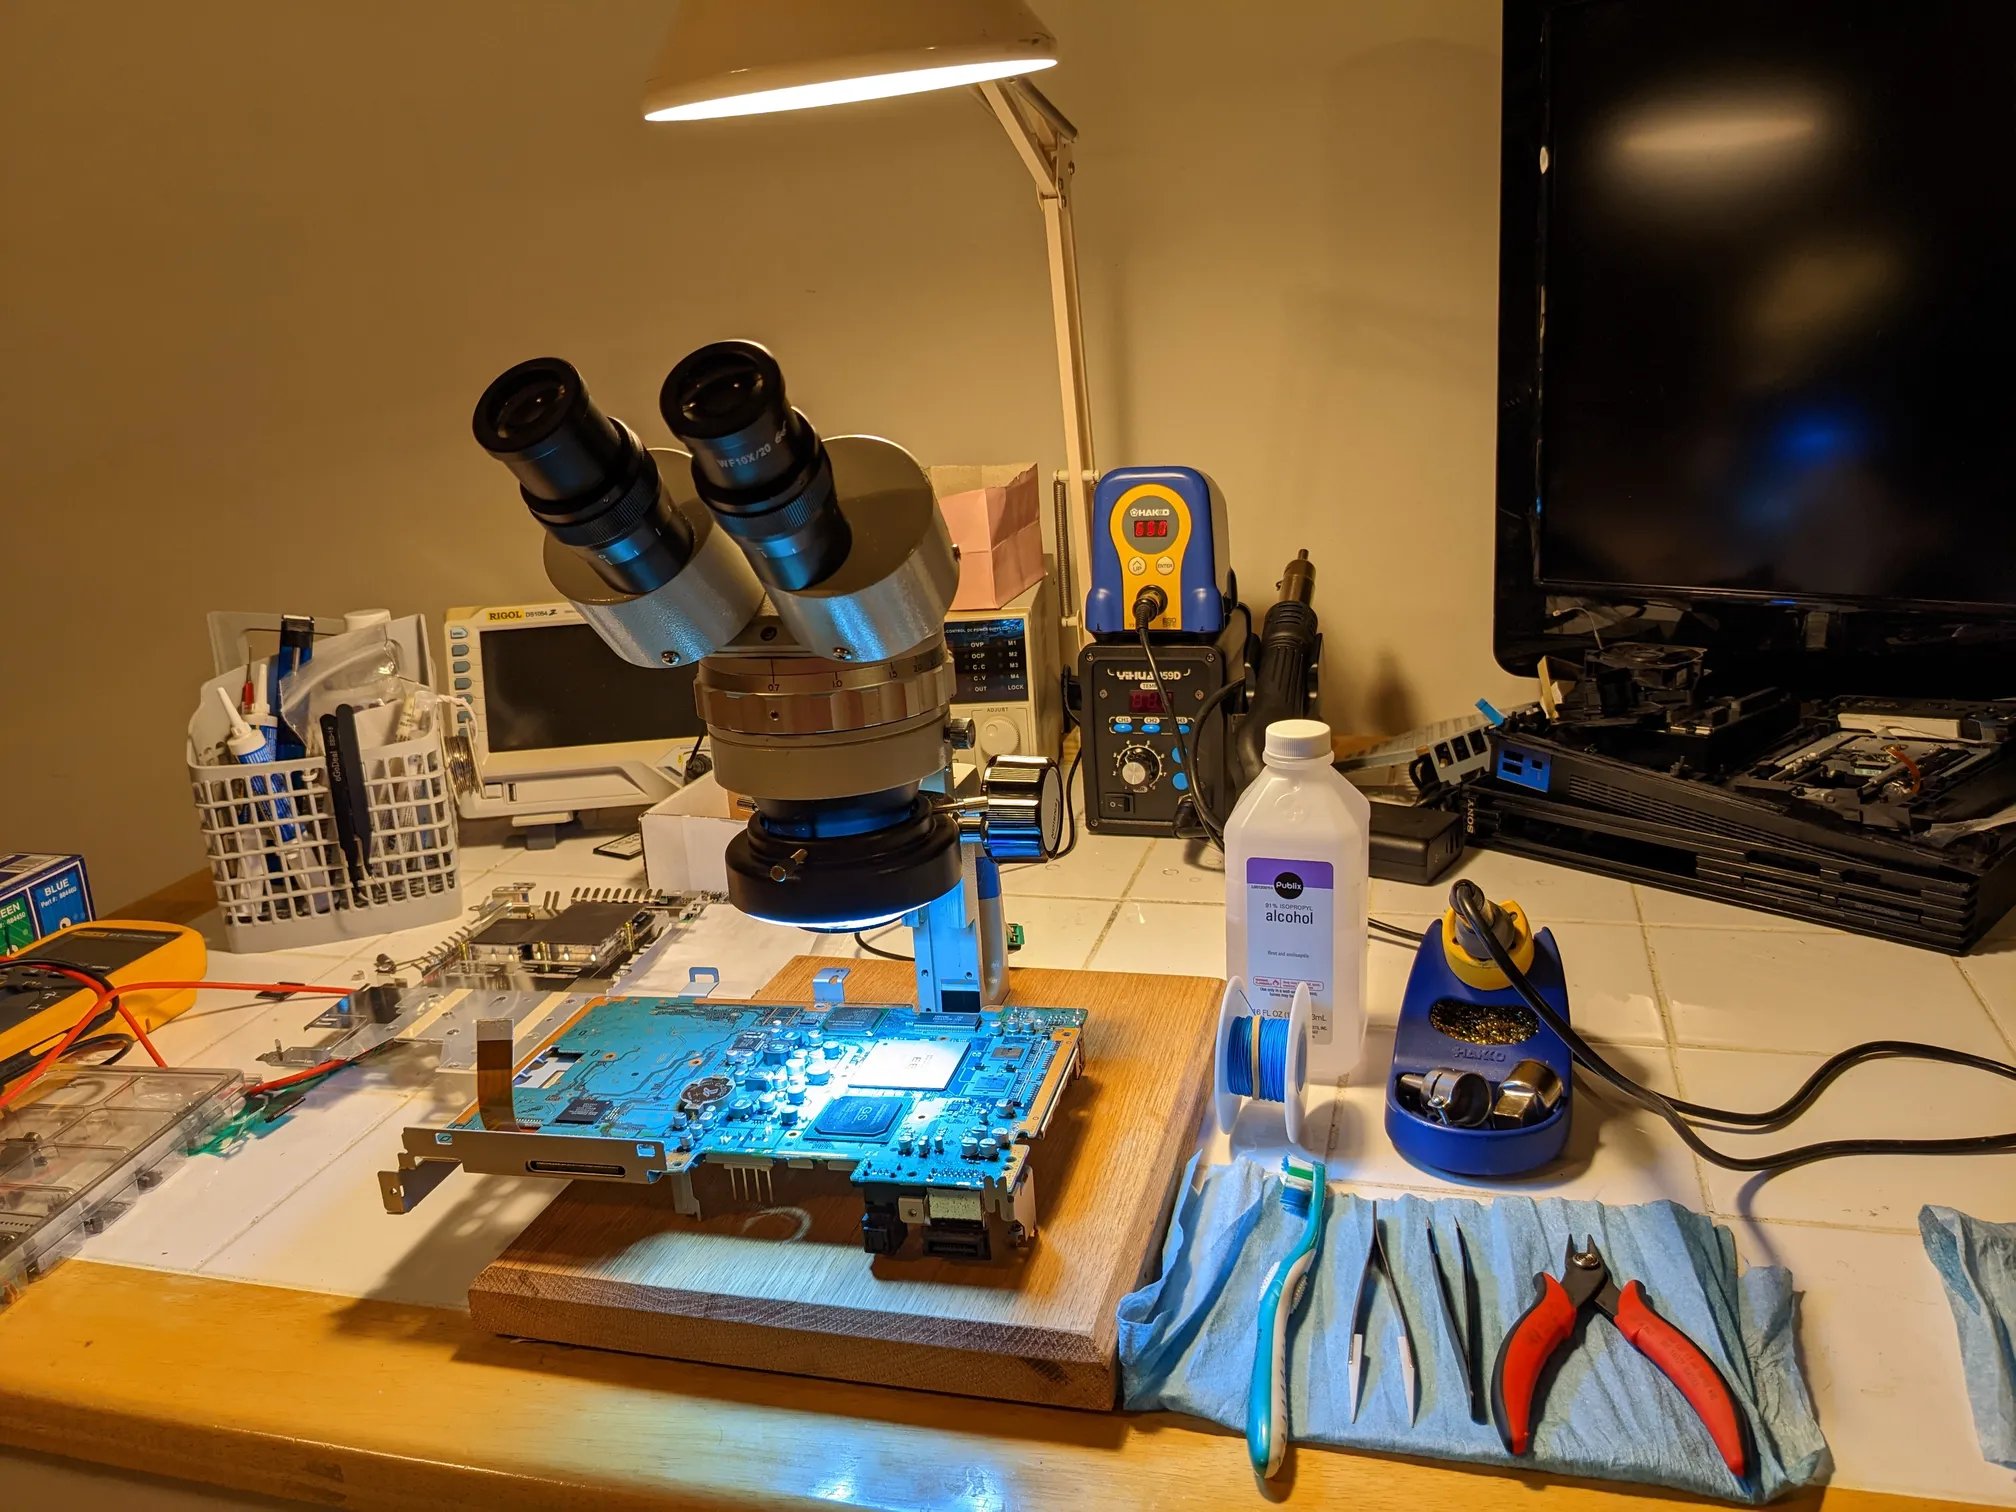
I found a playstation 2 on ebay for really cheap, it had some kind of issue with the video output, the signal coming out of the console was really garbled so I figured I'd try fixing it.
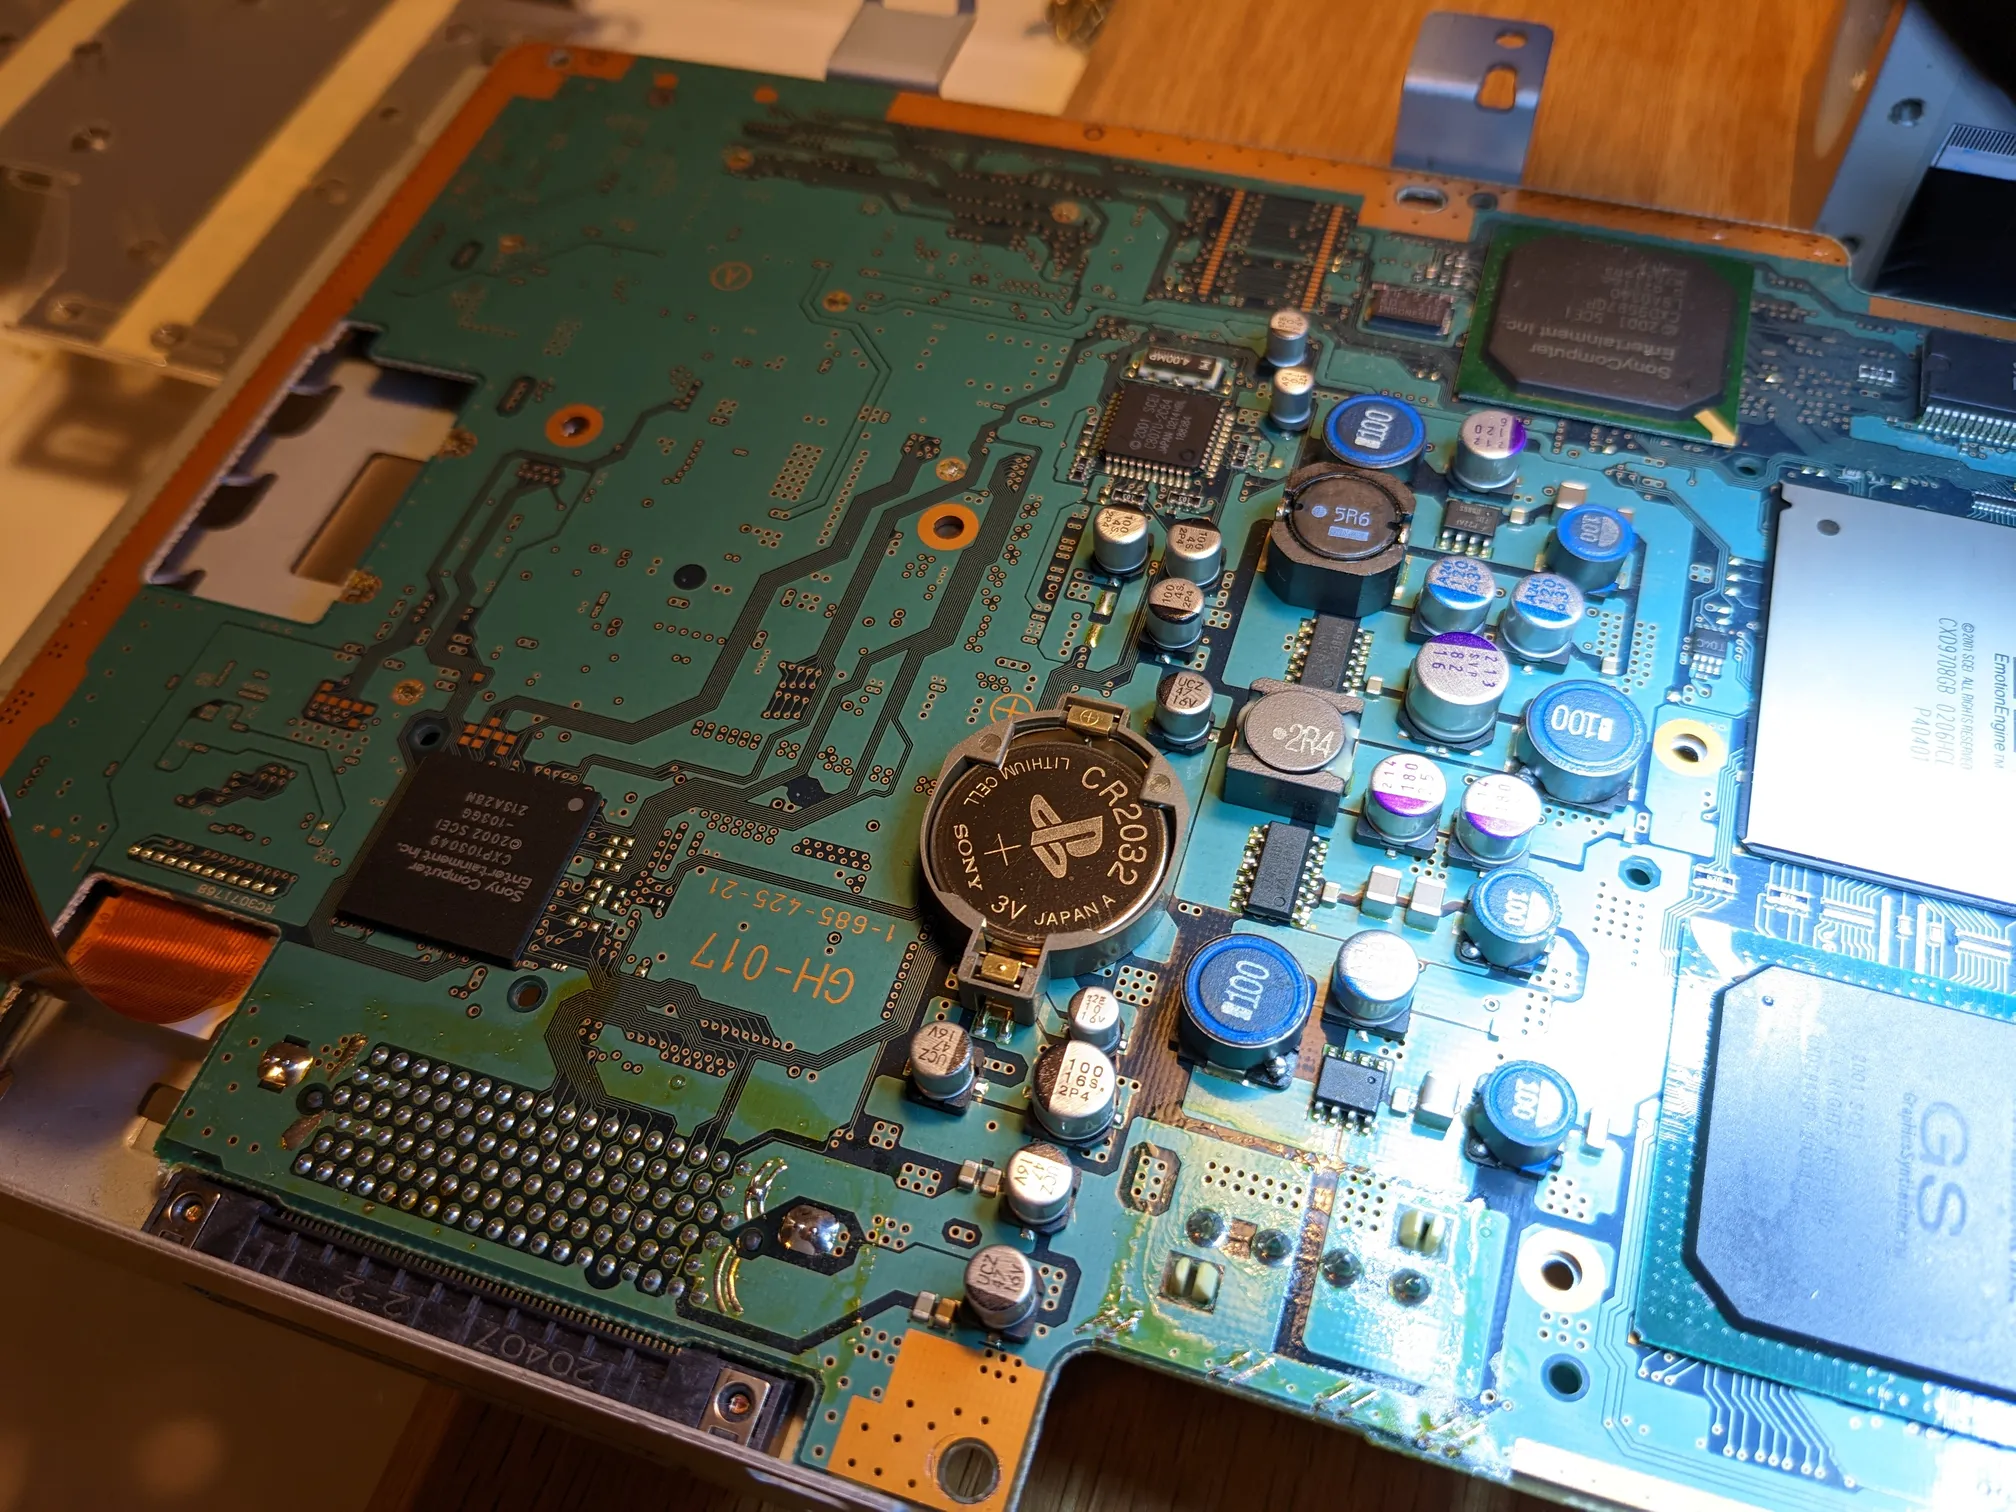
The system in question is a "Fat" PlayStation 2 SCPH-39001 with motherboard revision GH-017.
I found the service manuals for the PlayStation 2 here. The service manual includes board electrical shematics which were helpful.
After poking around and checking all of the low hanging fruit (Cables, connectors) I was able to verify that none of the easy fixes were the cuplrit for the garbled video. I turned to the internet to read forums and watch videos.
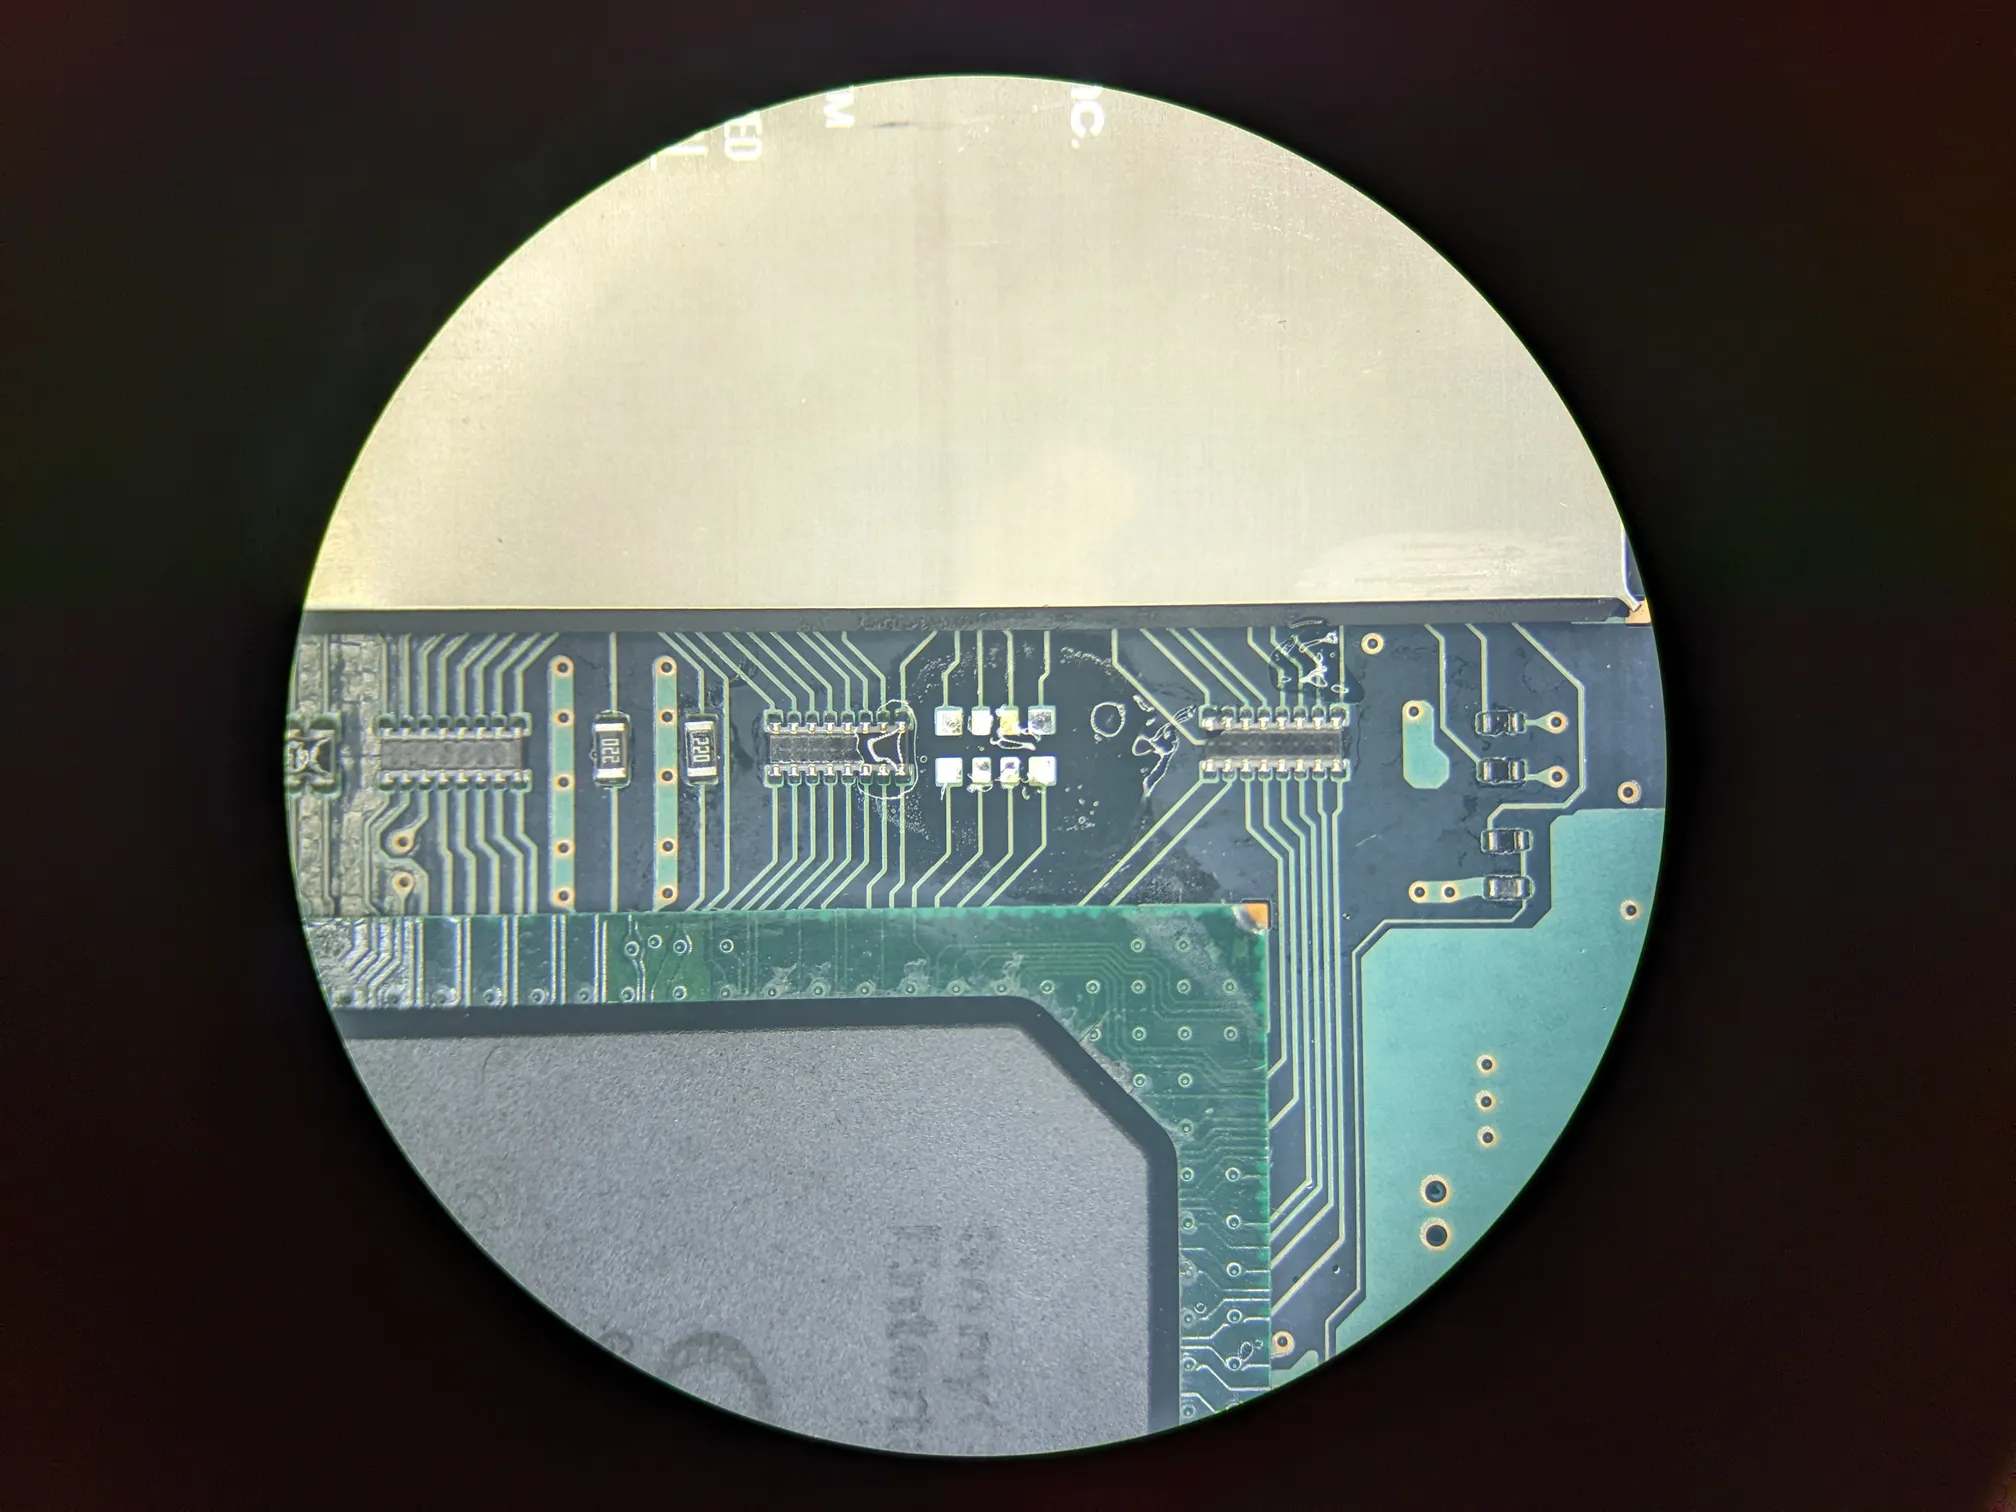
Eventually I stumbled upon this video: https://www.youtube.com/watch?v=nezoD0AFEH8 the issue idrees tech had appeared similar to mine so I decided to check the resistor packs on the video signal lines between the Emotion Engine (CPU) and GPU chips.
The service manual came in handy here, I was able to find the video lines on the circuit diagram, the values of the reistors, and their physical location on the board.
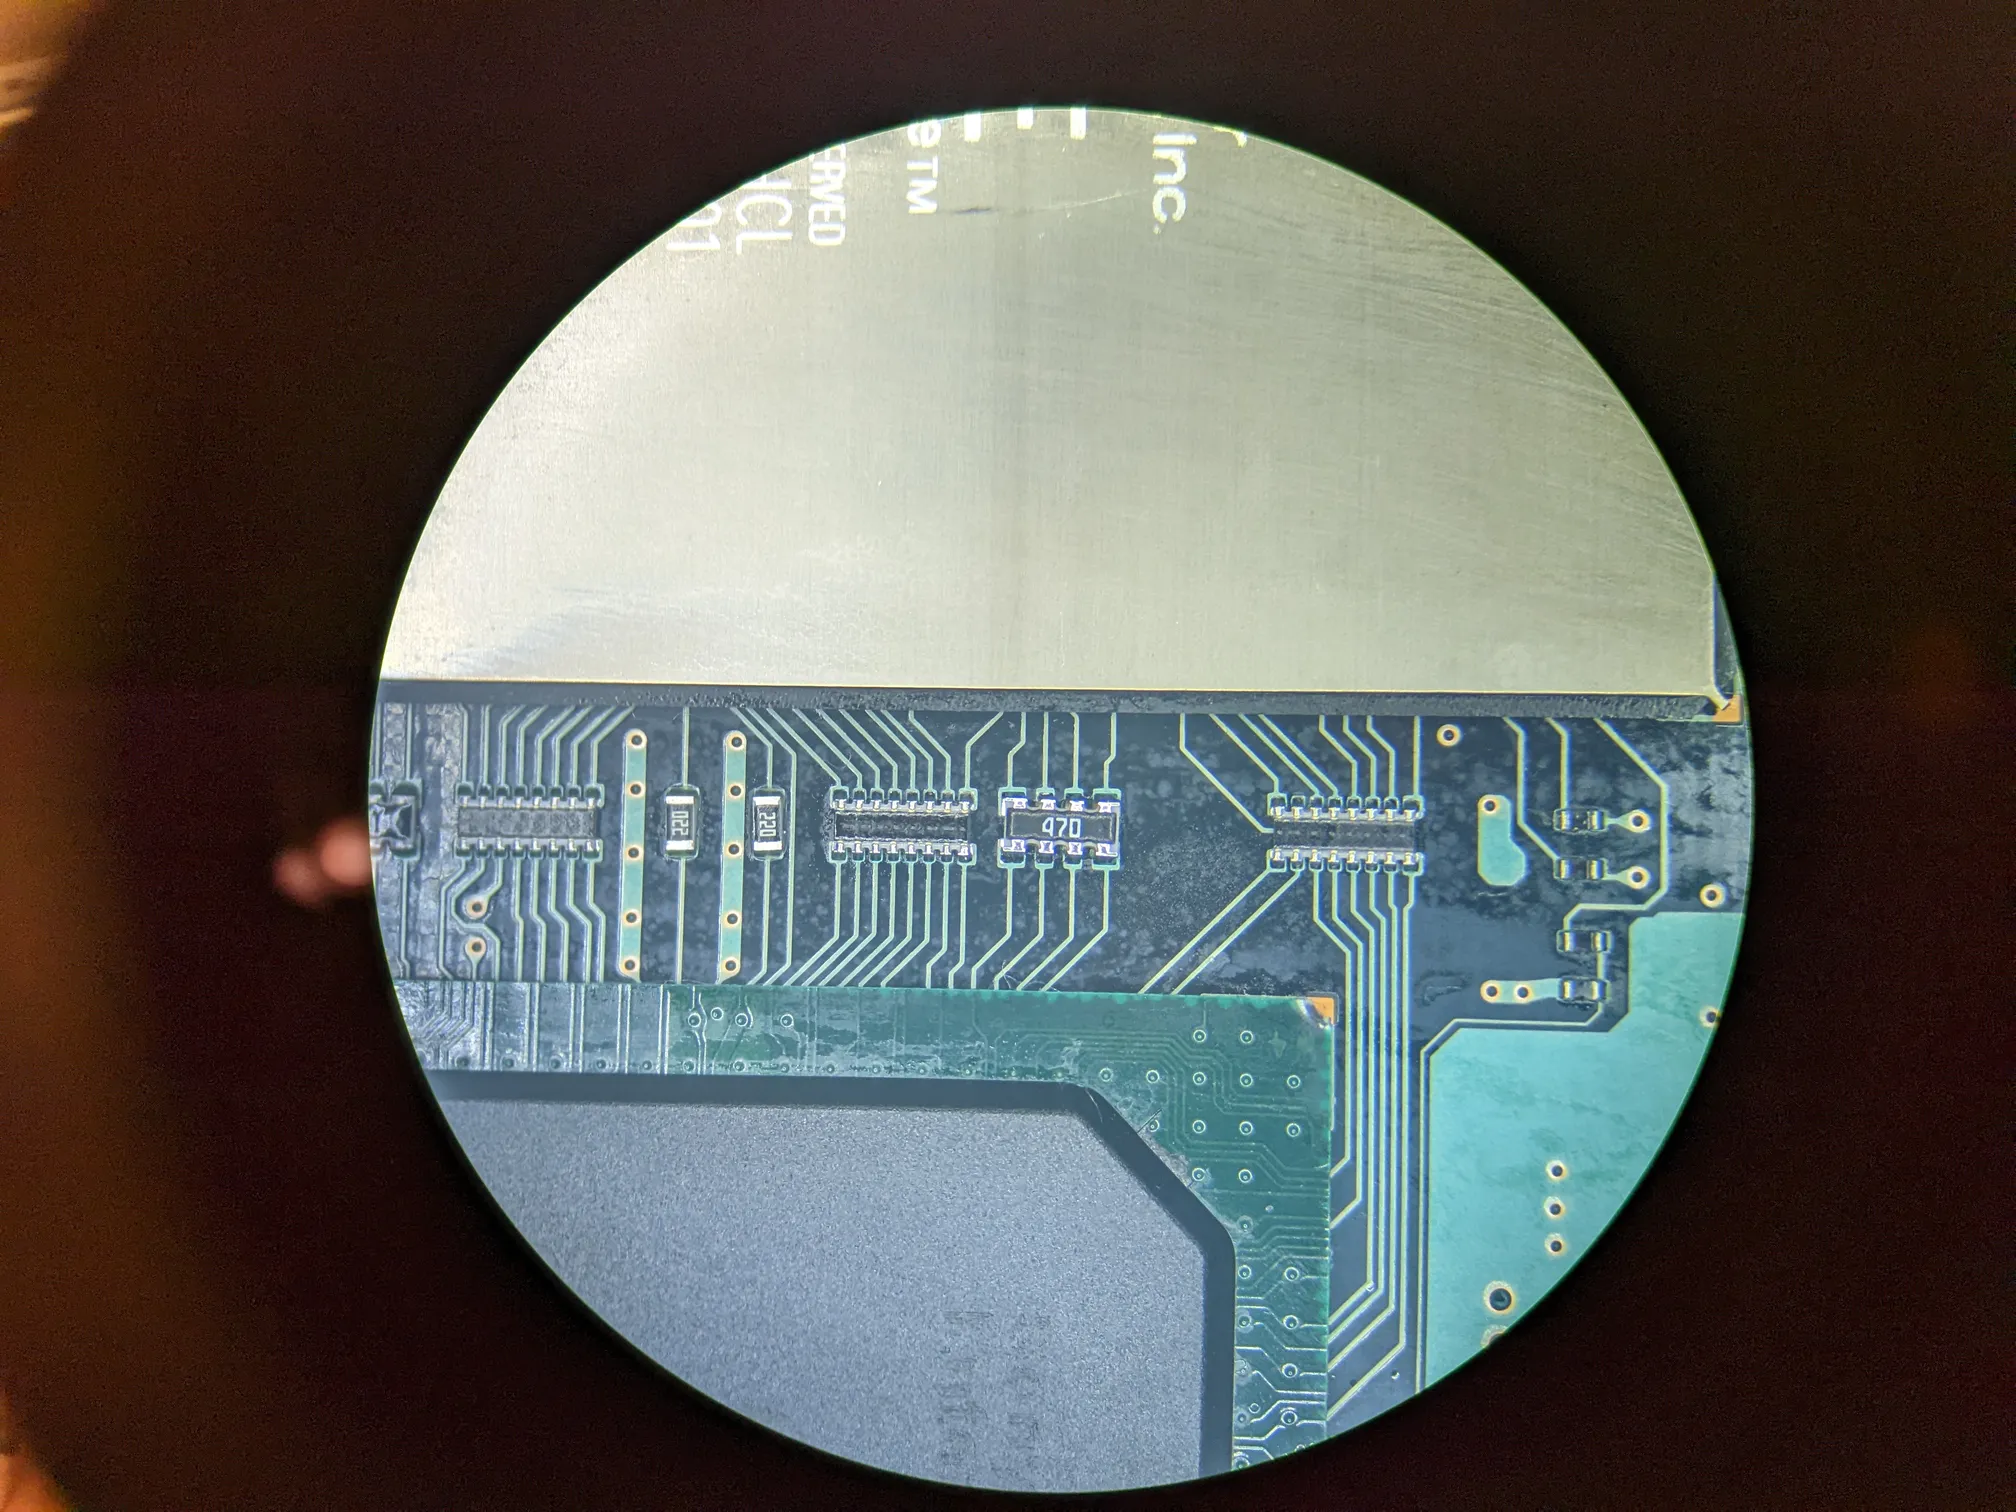
The resistors in question are 47 ohm and are packaged together in blocks of 4. I measured all of them with a multimeter and sure enough one of them was reading slightly over 100 ohms of resistance.
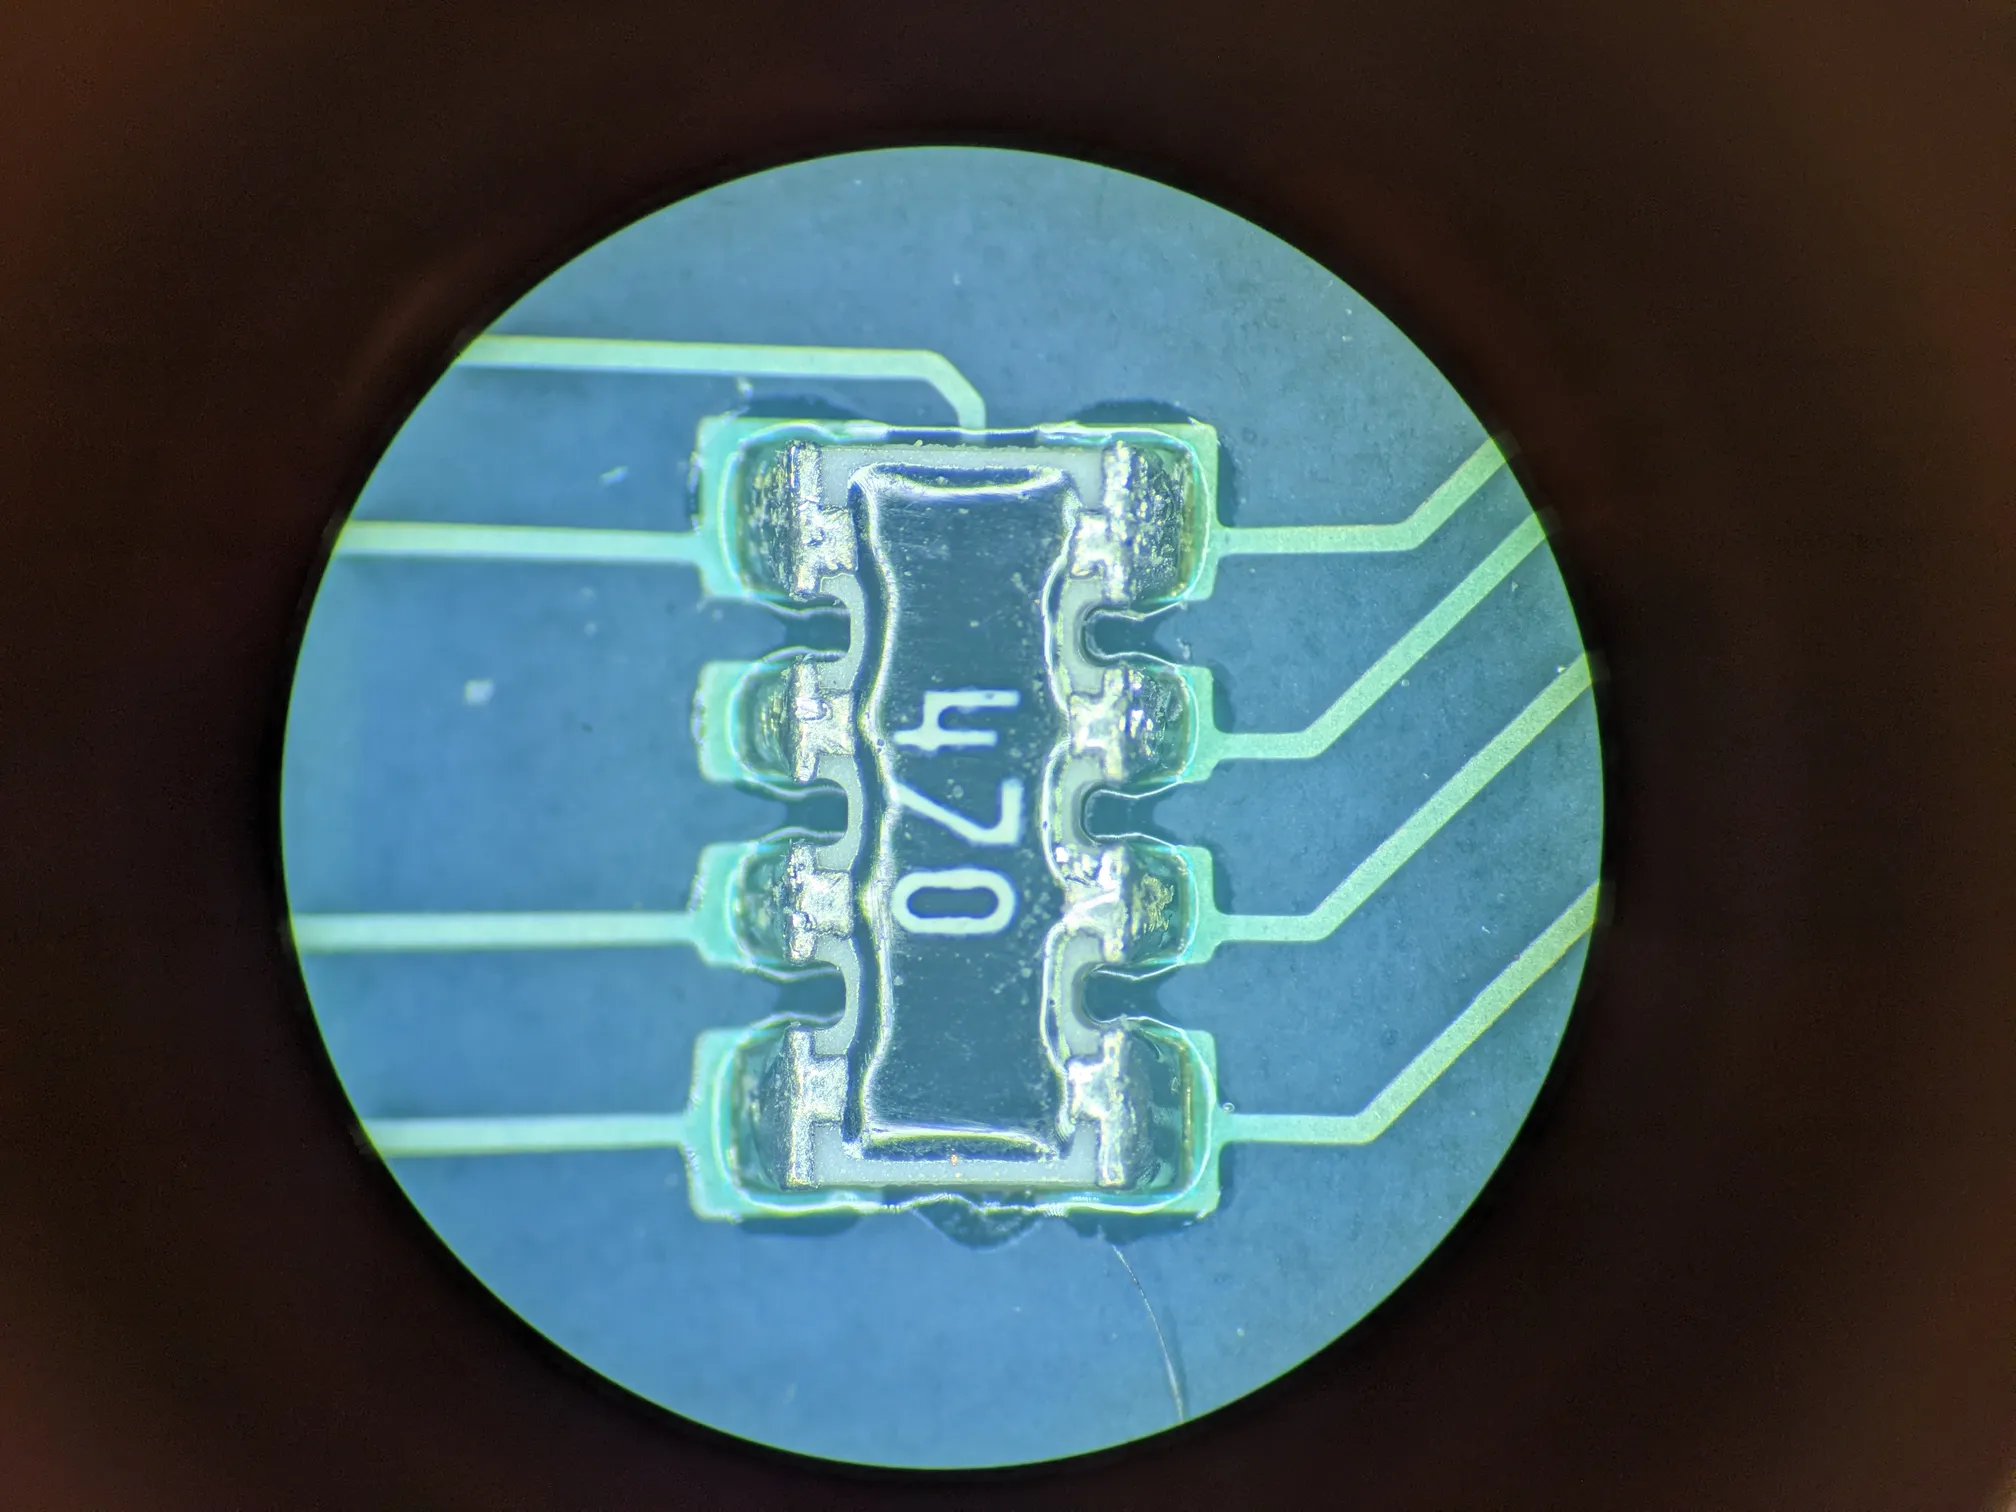
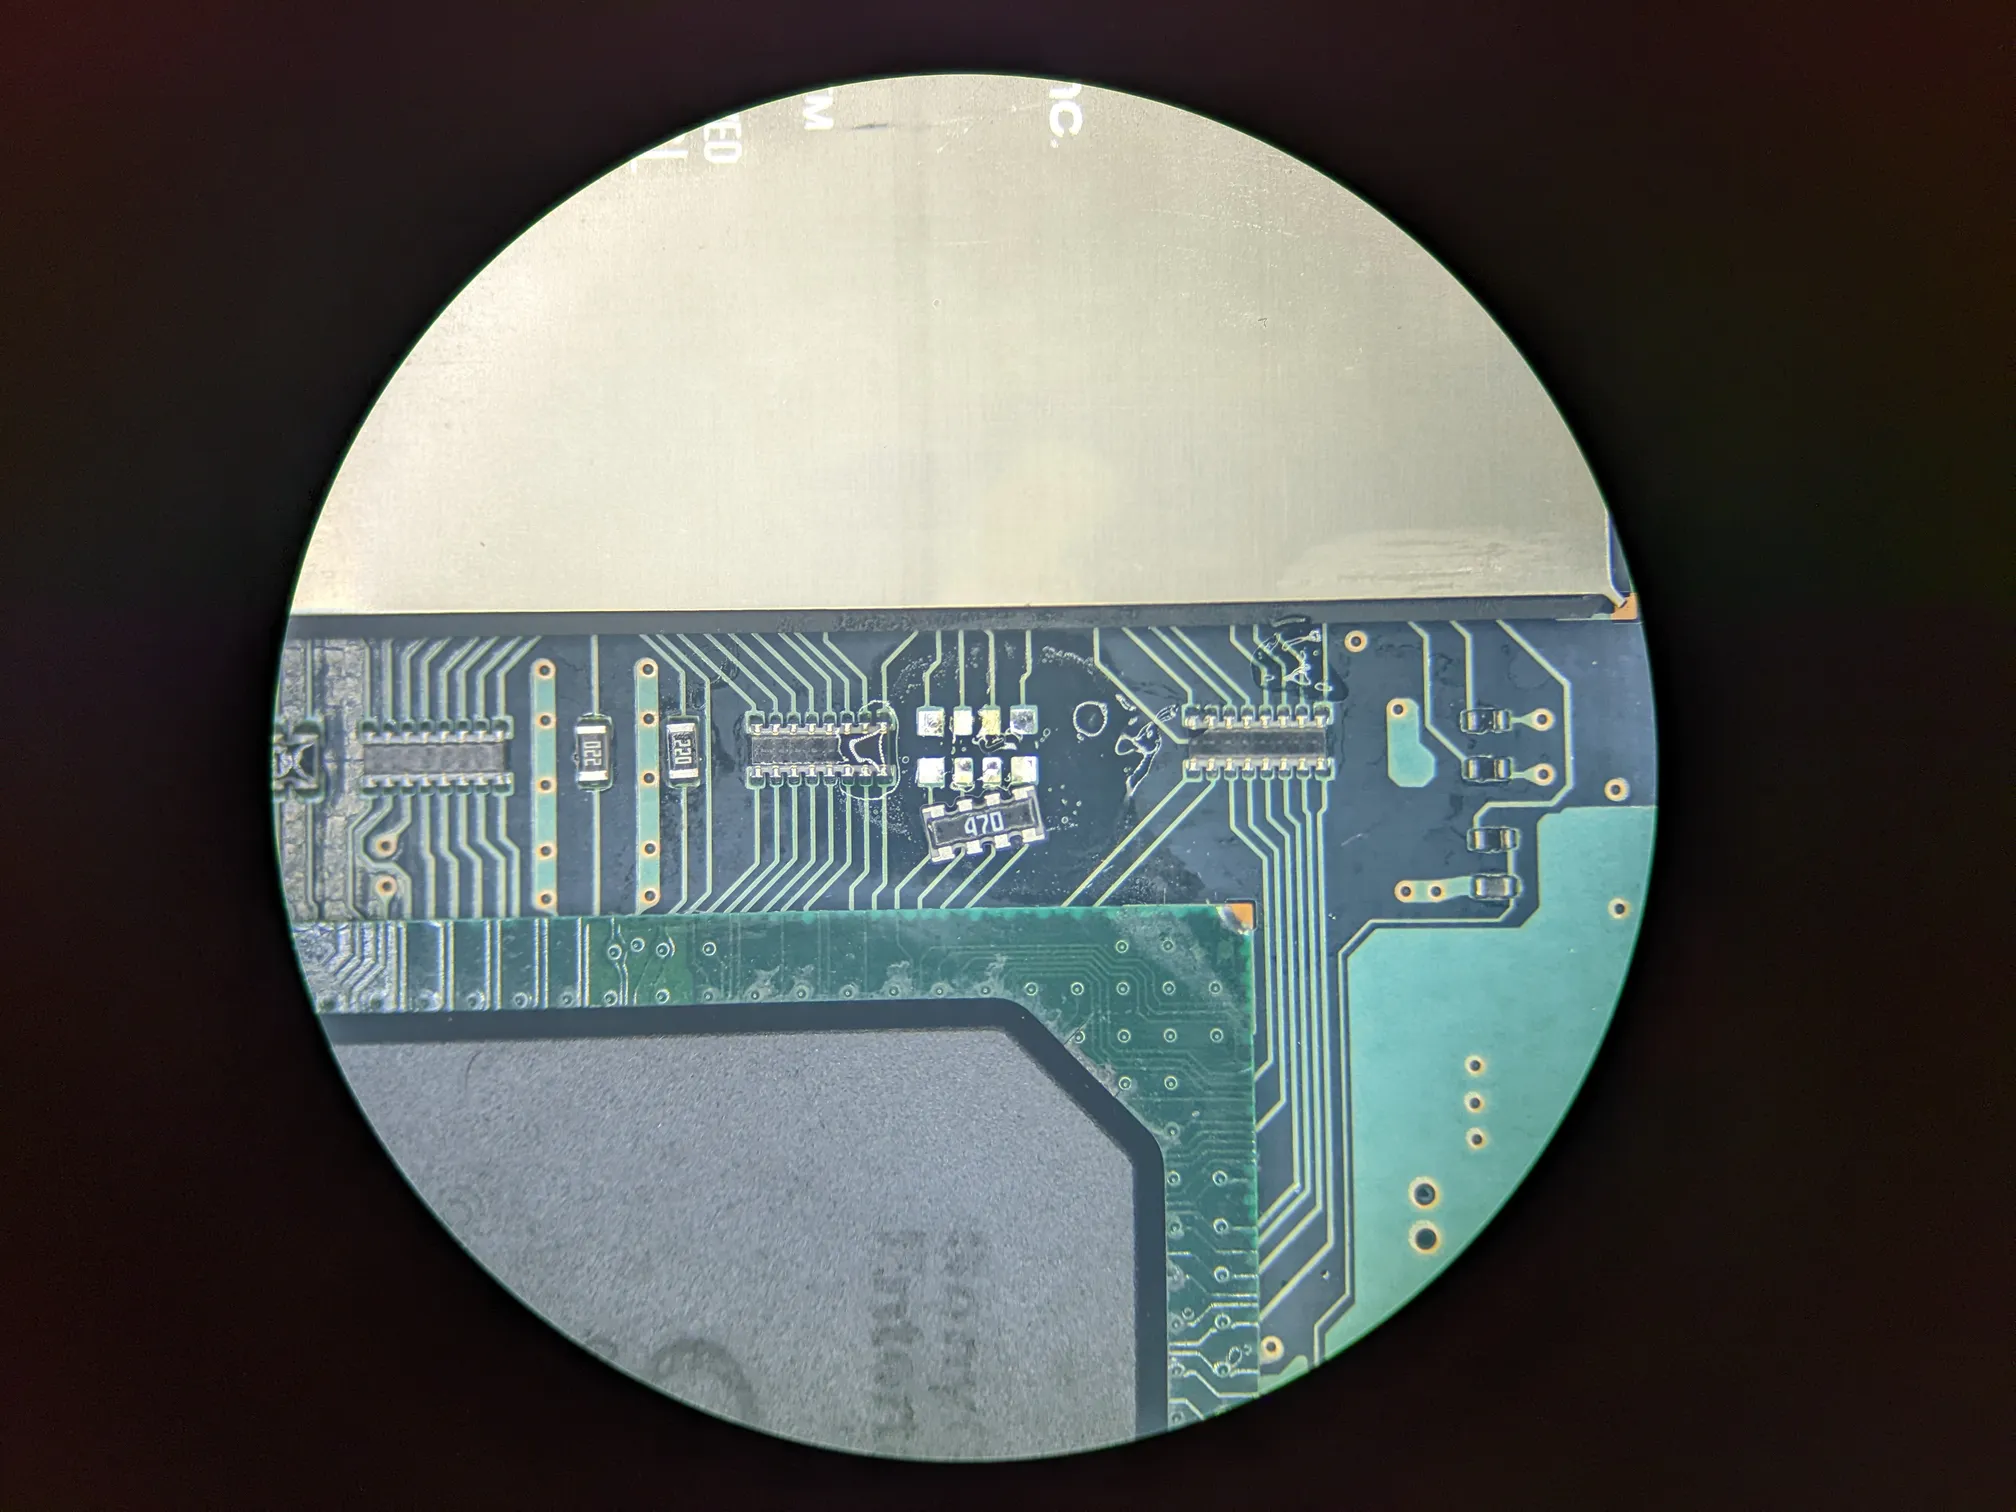
In order to test and confirm that the resistor was the issue I made a small jumper out of a THT resistor leg and soldered it across the offending resistor's circuit to remove the resistor from the signal path. You can see the dead resistor with the fresh solder on it before I bridged it.

Testing with the jumper showed that the video issue had disappeared. The diagnosis was confirmed!

Leaving the jumper in place probably would have been OK but I decided to try replacing the resistor pack to be thorough. It took a little time searching on Mouser to find the correct size and value of resistor pack (Panasonic EXB-38V470JV) but I found the replacement and ordered a few hundred. When the new resistors arrived I prepared for the replacement.
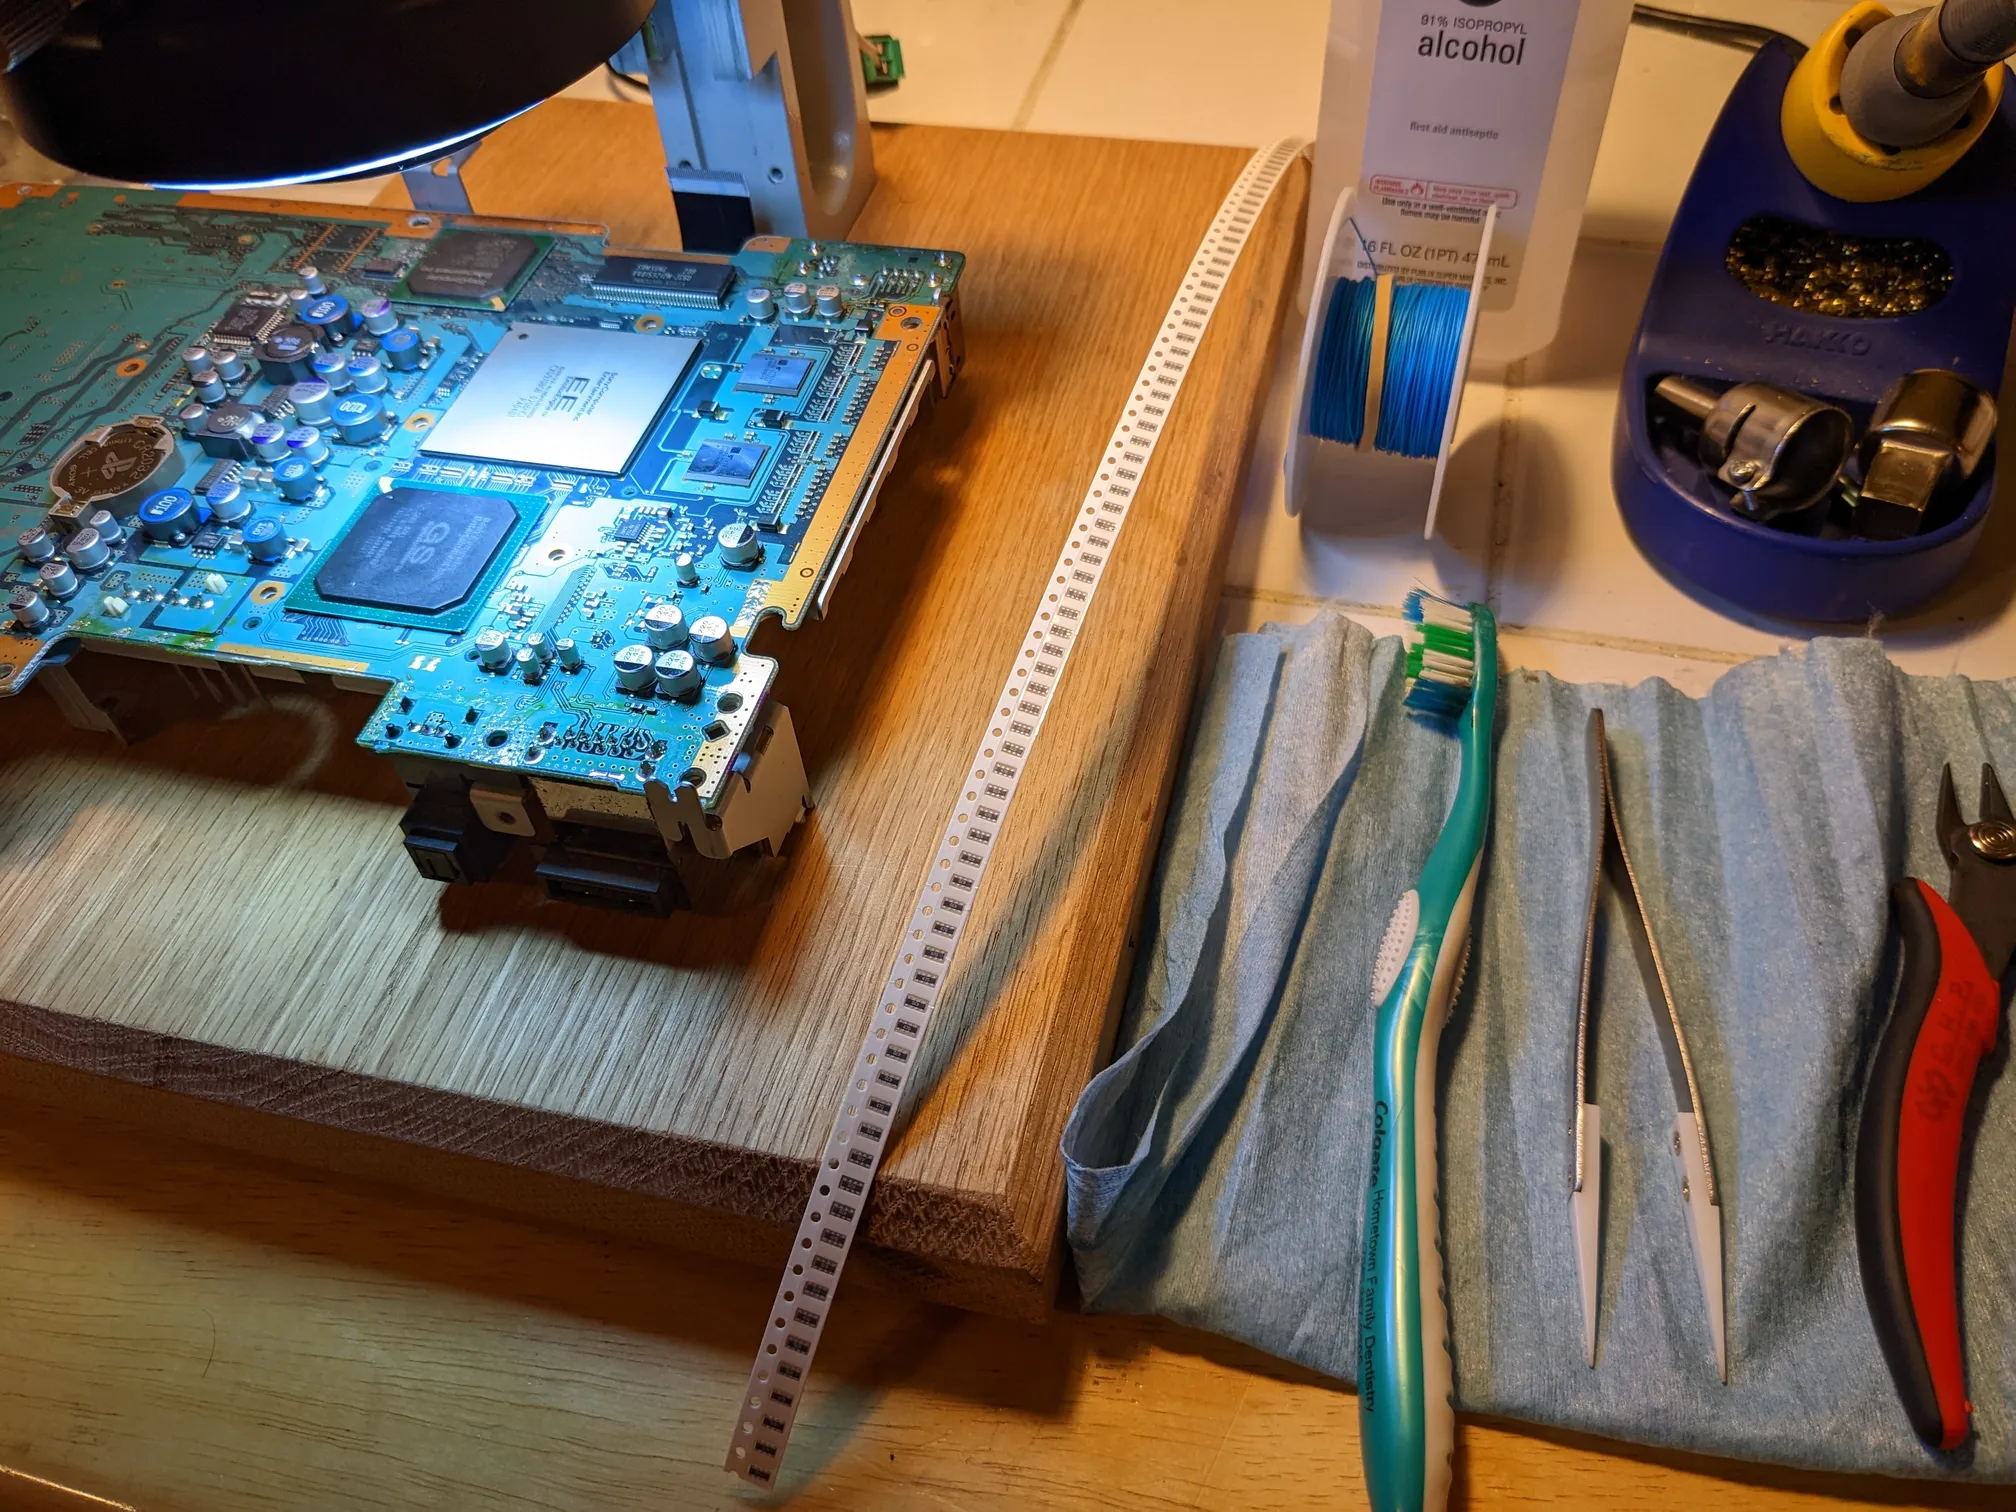
For the replacement, I applied no-clean flux, heated the resistor with the iron and swiped it off, then tinned the pads. After that I soldered the replacement in place and cleaned the remains of the flux with 91% IPA.
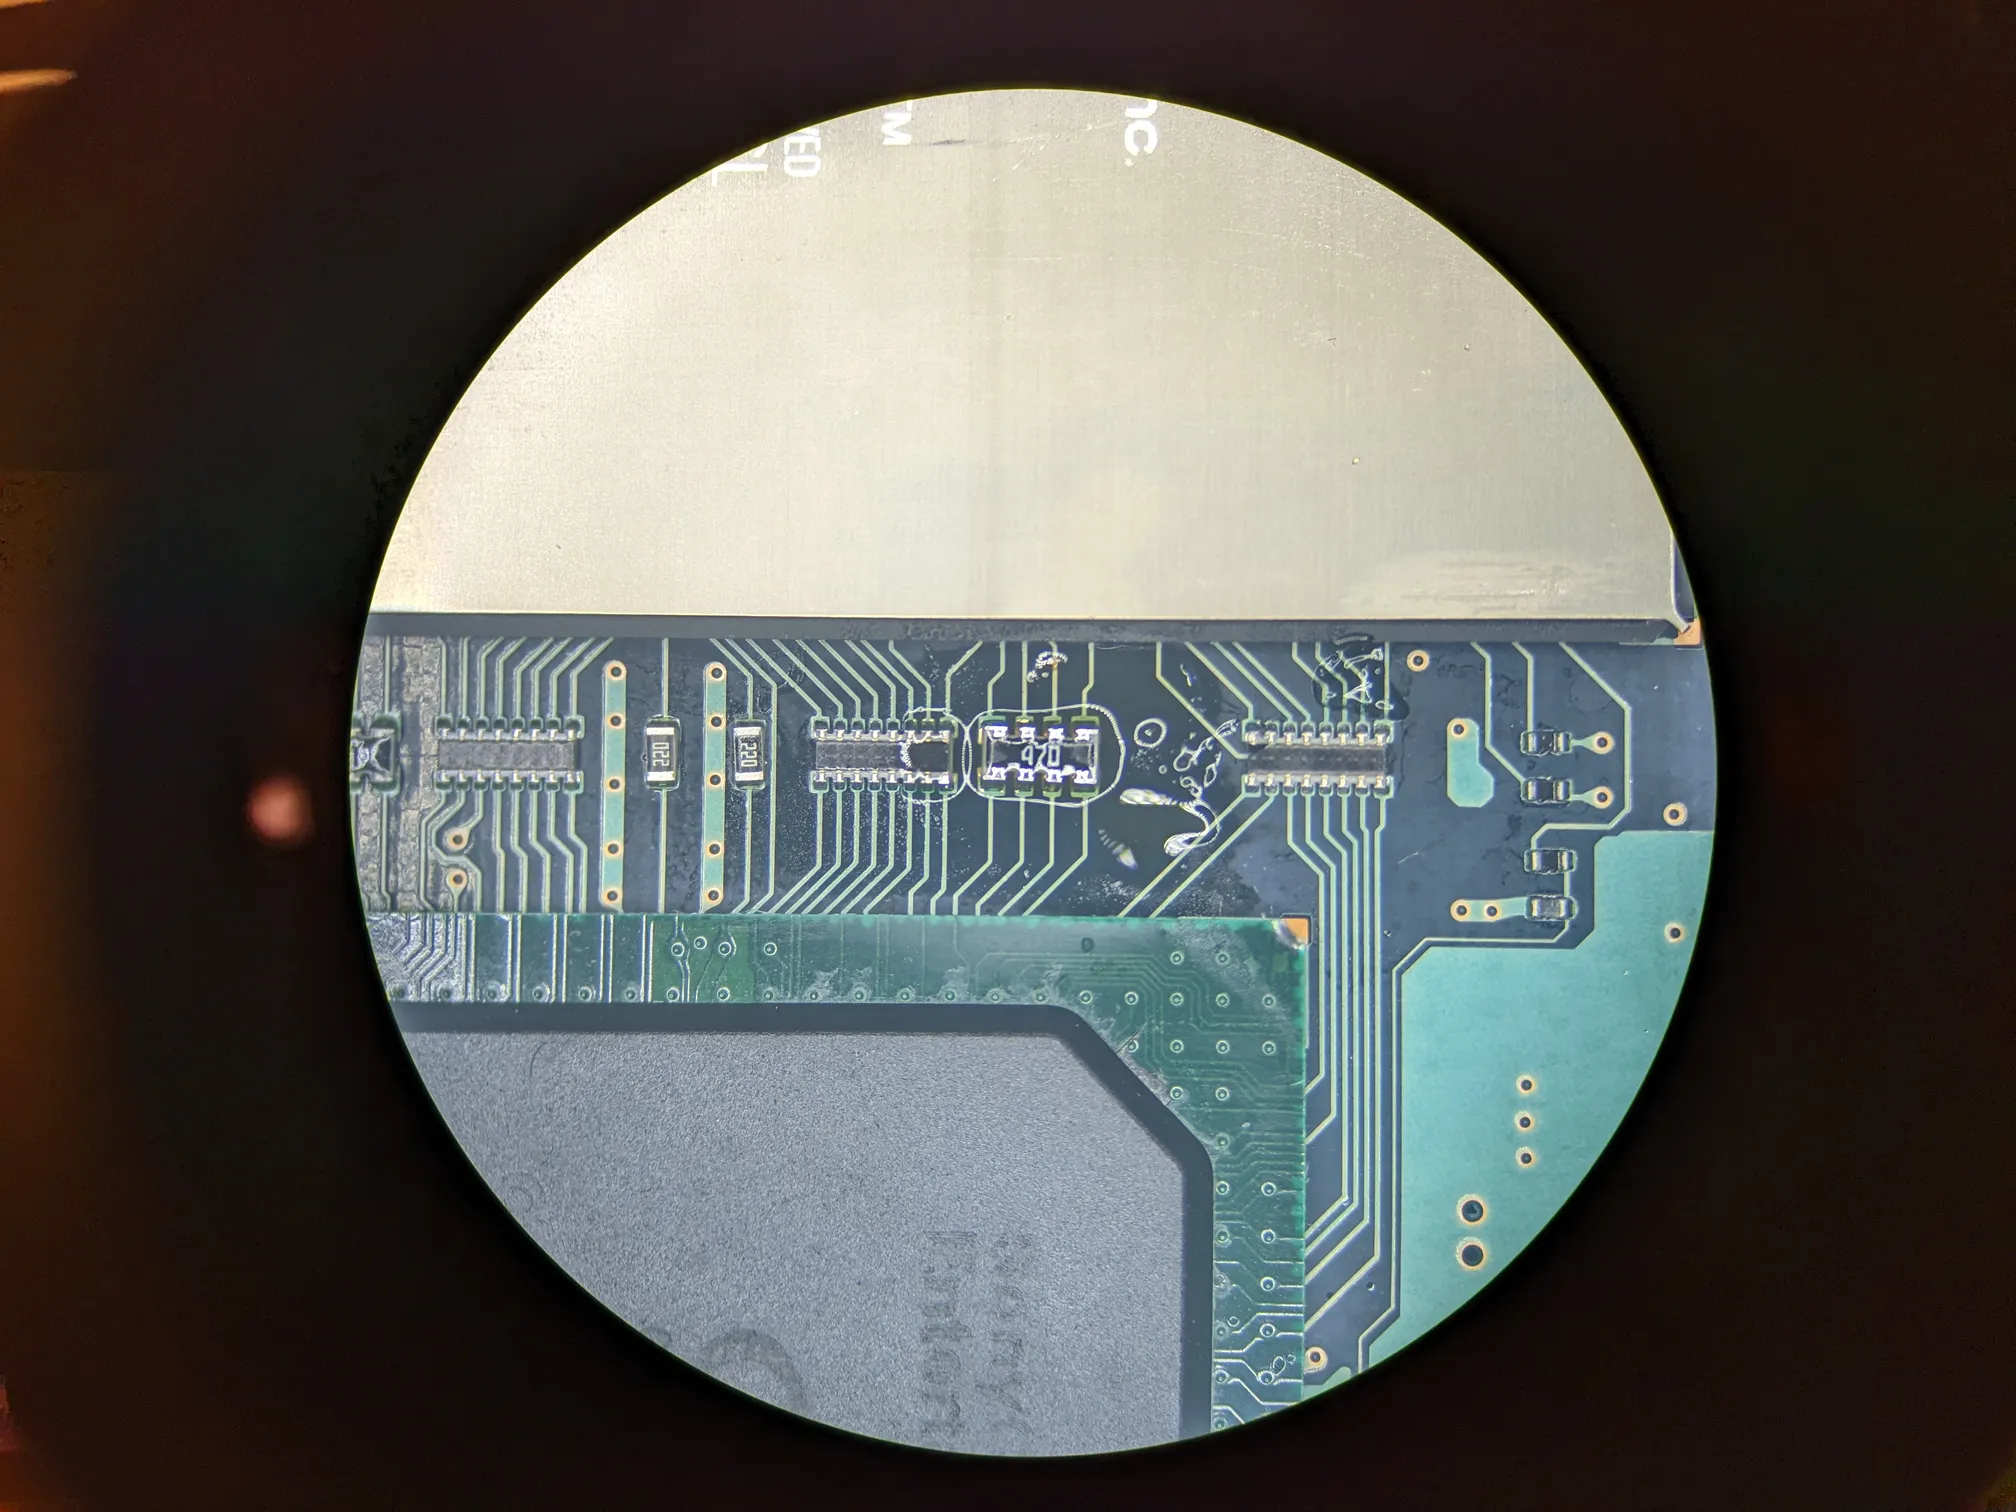
After that was finished I played some Metal Gear Solid to test, worked great.